Our aim goes far beyond delving into recipes and teaching culinary techniques; we intend to promote sustainable eating as an essential part of preserving humans’ relationship with nature. As such, we invite anyone who shares this same conviction or has a secret family recipe they would like to share with the rest of us to visit us online or contact us at [email protected] for all collaborations and submissions. Let’s show appreciation for those that dedicate their lives using natural deliciousness to establish meaningful human bonds through cuisine!
Now love yourself and enjoy this one ...
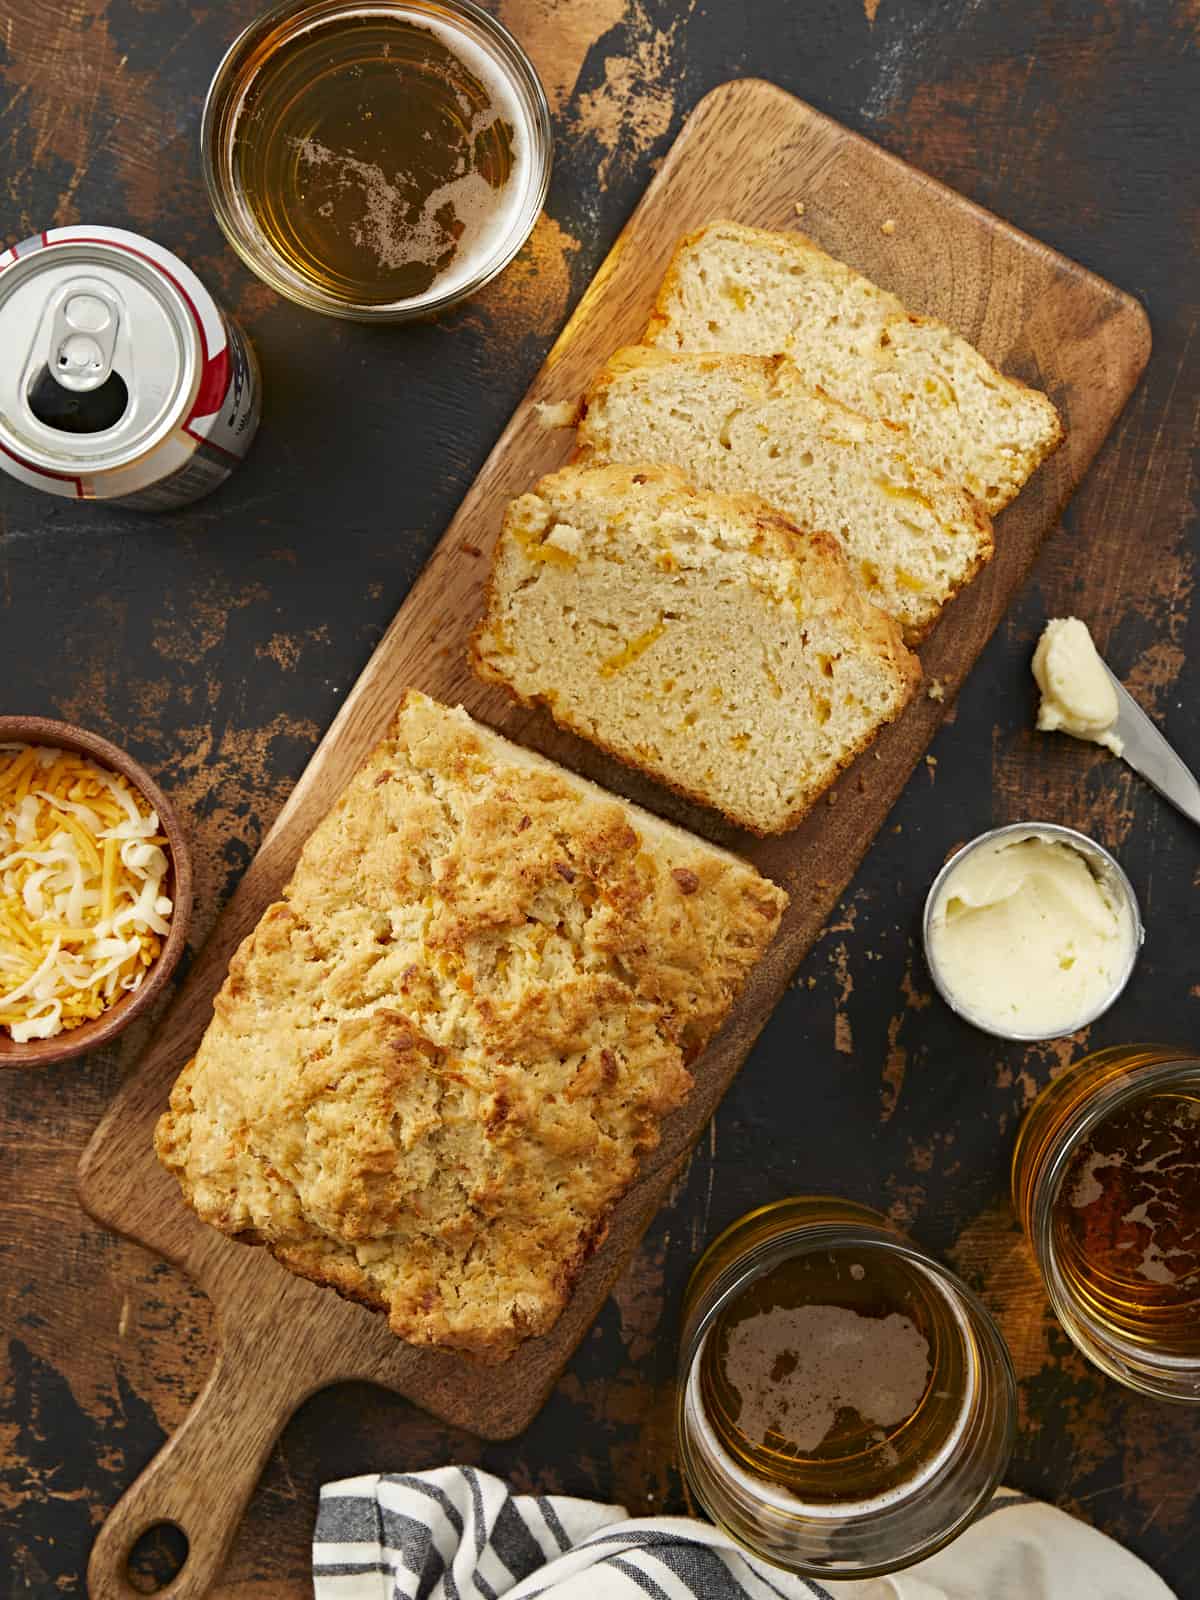
Looking for a way to use that random can of beer hanging out in the back of the fridge? Transform it into a loaf of deliciously-cheesy Beer Bread! Thanks to the beer, this super-easy quick bread recipe still delivers on the classic, yeasty flavor of a long-fermented loaf, but comes together in a fraction of the time. Best of all, there’s no kneading required.
WHAT IS BEER BREAD?
Beer Bread is a type of “quick bread” that uses the flavor and carbonation in beer to create a fluffy, buttery, tangy loaf in just an hour. Unlike most homemade bread recipes, this one doesn’t require any kneading, resting time, or additional yeast. We also included some shredded cheddar cheese to make our loaf extra rich and flavorful!
BEST BEERS FOR BEER BREAD
We chose a budget-friendly, light beer for our loaf, but almost any kind of beer can be used to make this recipe. Keep in mind: the beer you choose will influence the flavor of the bread, so make sure to pick something you like! How to choose the best beer for beer bread:
- Light beers - Generally, light beers will create a light-colored loaf with an airy texture and a more subtle, malty flavor.
- Dark beers - Darker beers like stouts and porters will give the bread a slightly darker color and more robust flavor than light beer.
- Hoppy beers & IPAs - Since pale ales tend to be very bitter, they aren’t an ideal choice. That intense flavor will carry over and may give the bread a lingering sour aftertaste.
HOW TO STORE LEFTOVERS
Once fully cooled, wrap the loaf in plastic wrap or aluminum foil. Store the bread in the pantry or on the counter (for 1-2 days) or in the fridge (for 4-5 days). This bread also freezes beautifully. Tightly wrap the loaf in a layer of plastic wrap and aluminum foil and freeze for up to 3 months.
serving suggestions
This beer bread lands somewhere between a regular, sliceable loaf of bread and a savory, ultra-rich loaf cake. So the possibilities are kind of endless!
- Slice it thick, toast it up, and slather each slice with softened butter, savory jam, or a generous serving of our Slow-Cooker Hot Buttered Apples!
- This decadent loaf is also great with a Simple Side Salad or served on the side of a quick & easy main dish that’s protein- and vegetable-forward, like our Crunchy Kale Chicken Salad, Butternut Squash Salad, or Pesto Chicken and Broccoli Salad.
- Or, simply rip and dip into a brothy soup or stew, like our 15-Minute Vegetable Curry, or Creamy Vegetable and Wild Rice Soup. A thick, hearty slice would also be a great alternative to the classic grilled cheese served alongside our Tomato Herb Soup!
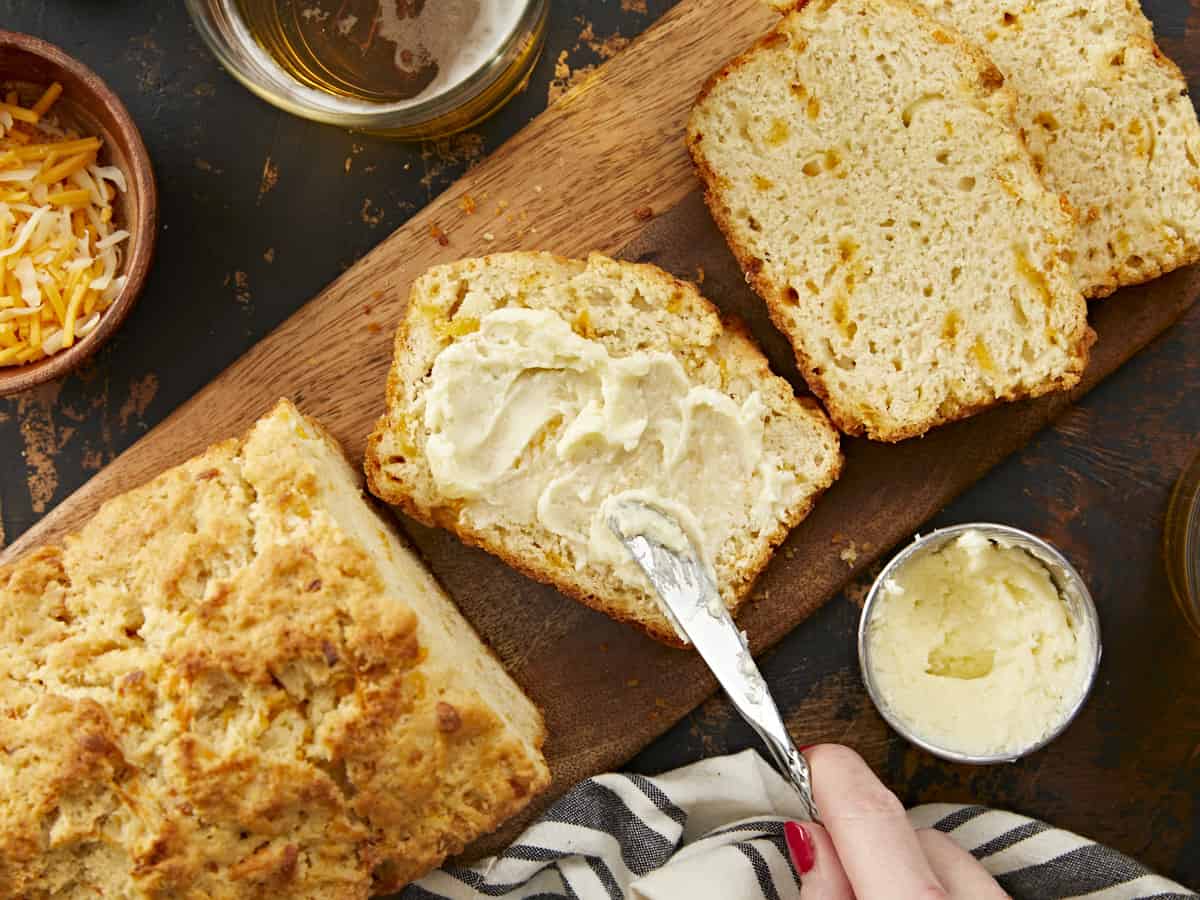
Beer Bread
Equipment
- Liquid Measuring Cup
- Mixing Bowls
- Metal Loaf Pan
Ingredients
- 3 cups all-purpose flour $0.30
- 1 Tbsp sugar $0.06
- 1 Tbsp baking powder $0.12
- 2 tsp salt $0.04
- 1/2 cup shredded sharp cheddar cheese* $0.62
- 4 Tbsp butter, divided** $1.20
- 12 oz. beer (one regular-sized can) $0.92
Instructions
- Preheat the oven to 375℉. In a large bowl, combine the flour, sugar, baking powder, salt, and shredded cheese. Mix well.
- Melt the butter in a small sauce pot. Use a pastry brush to coat the inside of a 9×5 loaf pan with butter. Set the remaining butter aside.
- Add the beer to the flour mixture and stir until a thick batter forms. Transfer the batter to the prepared bread pan, making sure to spread it out evenly inside the bread pan.
- Pour the rest of the melted butter on top of the bread dough.
- Bake the bread for 45-50 minutes, or until deeply golden brown on top.
- Once slightly cool (about 10 minutes), run a butter knife around the inside edge of the pan gently to loosen the edges, and then turn the bread onto a cutting board to slice and serve.
See how we calculate recipe costs here.
Notes
** If using unsalted butter, you may want to add an additional ¼ teaspoon of salt with the rest of the dry ingredients or sprinkle the same amount on top of the loaf just before baking.
Nutrition
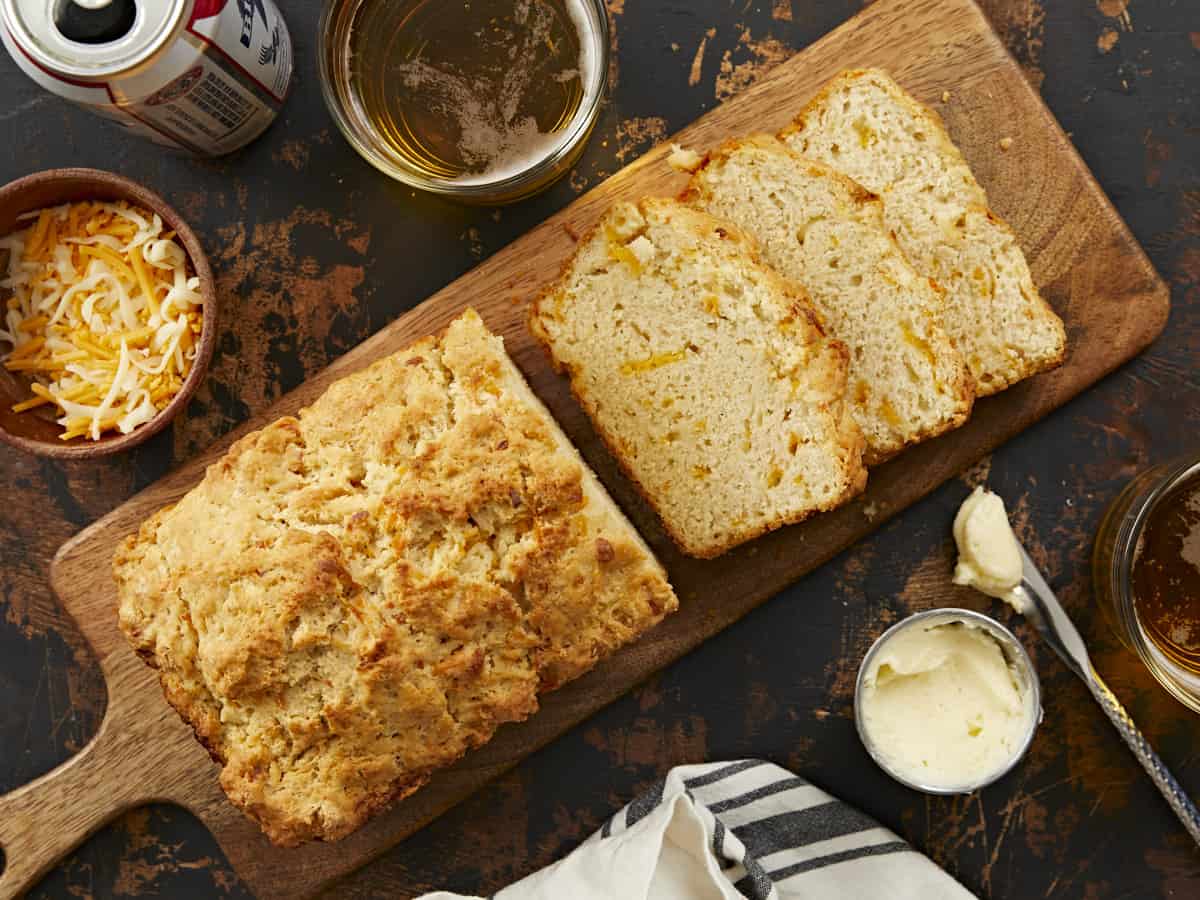
How to Make BEER BREAD - Step by Step Photos
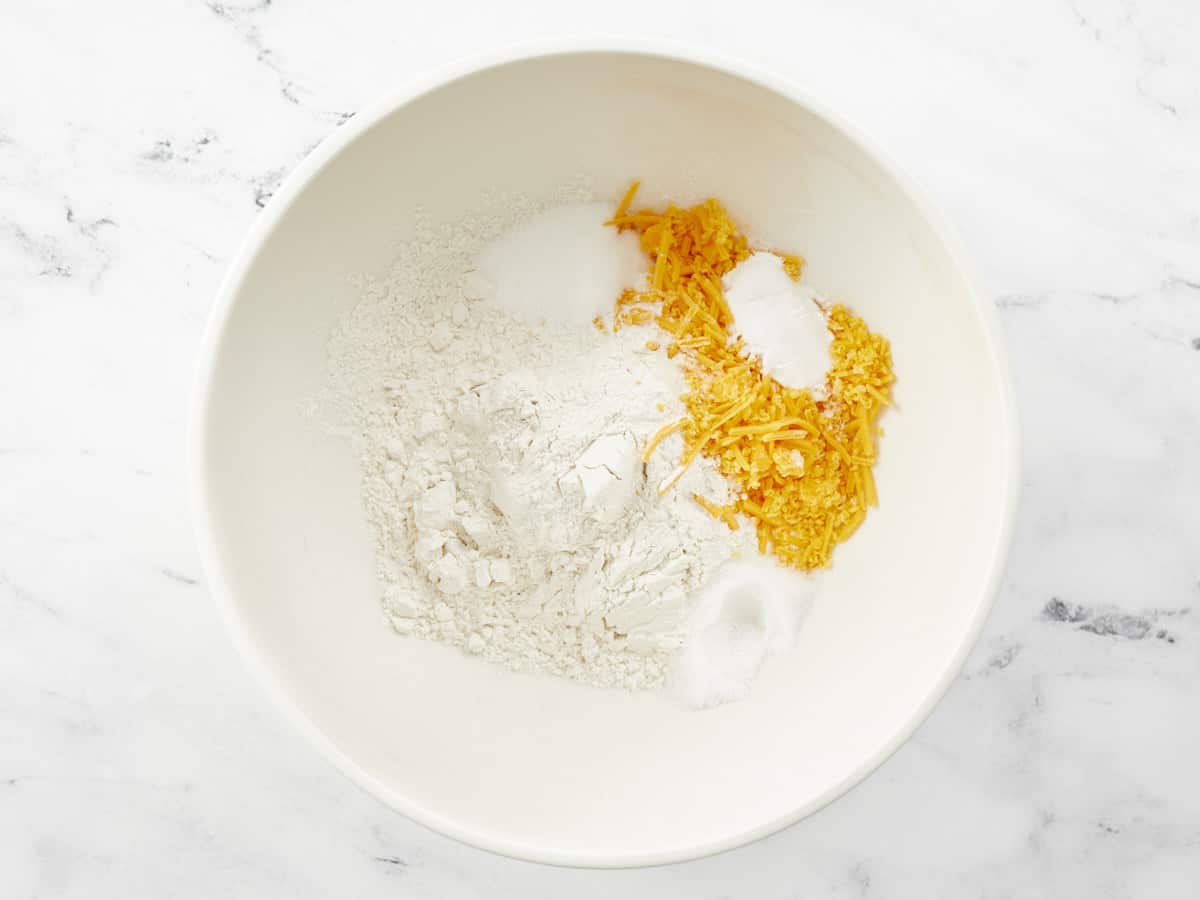
Preheat the oven to 375℉. In a large bowl, combine 3 cups of all-purpose flour, 1 tablespoon of sugar, 1 tablespoon of baking powder, 2 teaspoons of salt, and 1/2 cup of shredded cheese.
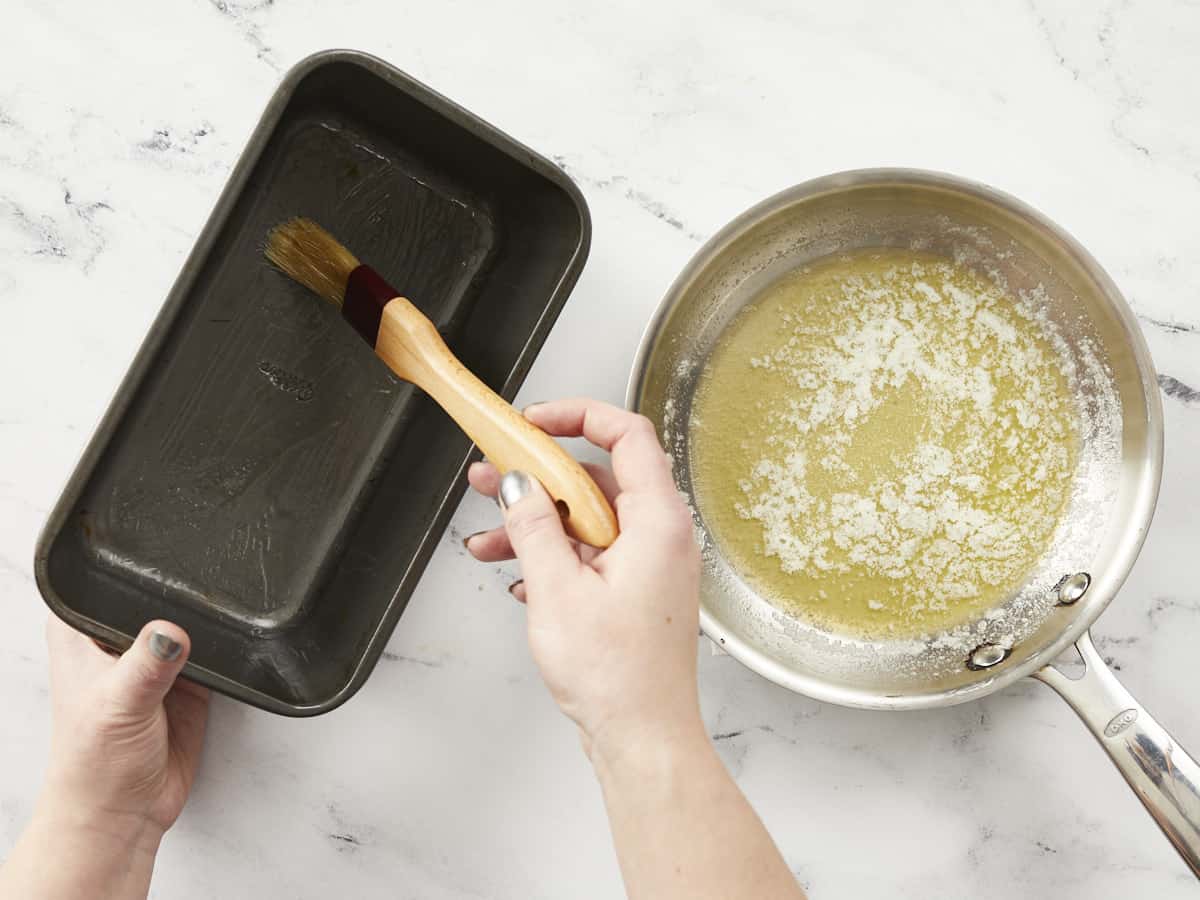
Melt 4 tablespoons of butter in a small sauce pot or skillet. Use a pastry brush to coat the inside of a 9×5″ loaf pan with about 1/2 tablespoon of the melted butter. Set the rest of the butter aside.
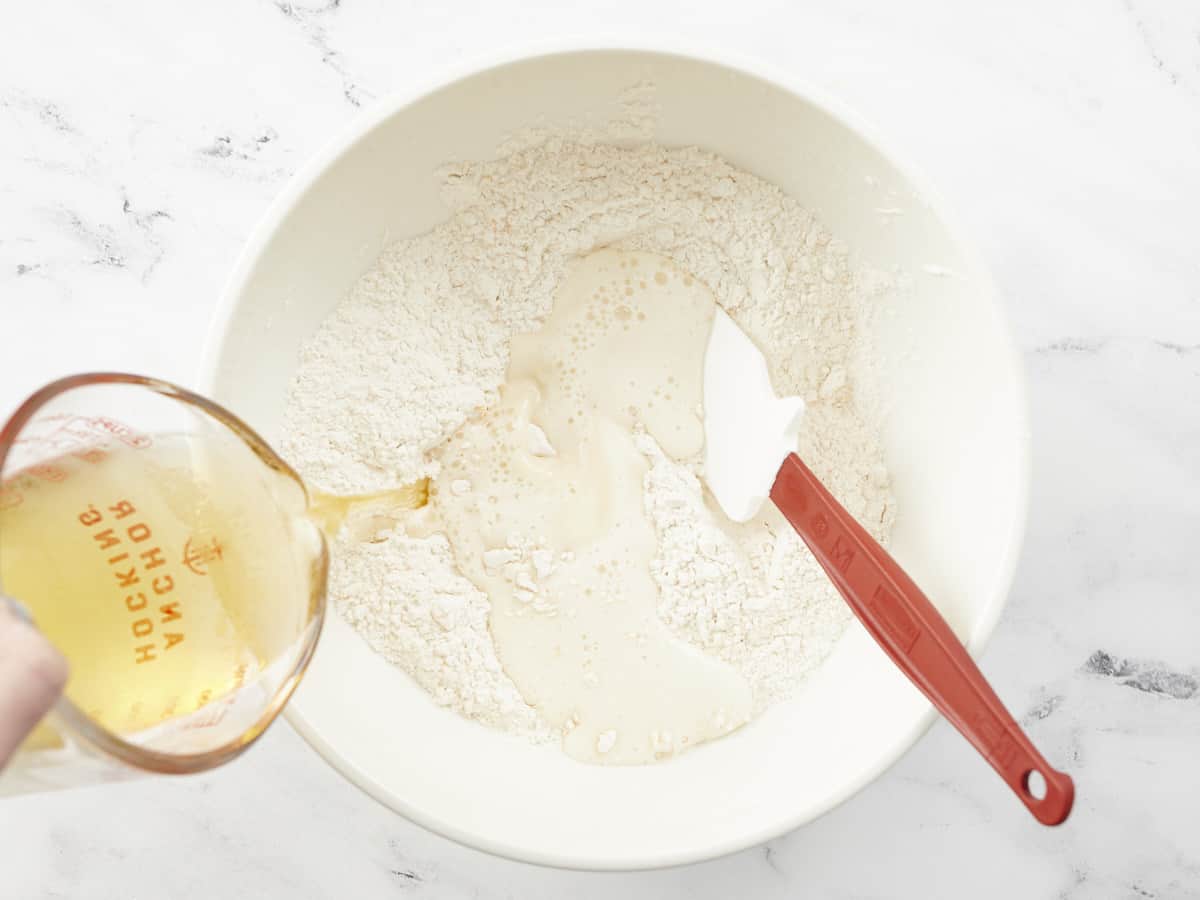
Pour 12 oz. (1 1/2 cups) of beer into the flour mixture. Mix until a thick batter forms and no clumps of dry ingredients remain. Transfer the batter to the prepared loaf pan, making sure to spread it out evenly. Tap it on the counter a few times to help eliminate any air pockets.
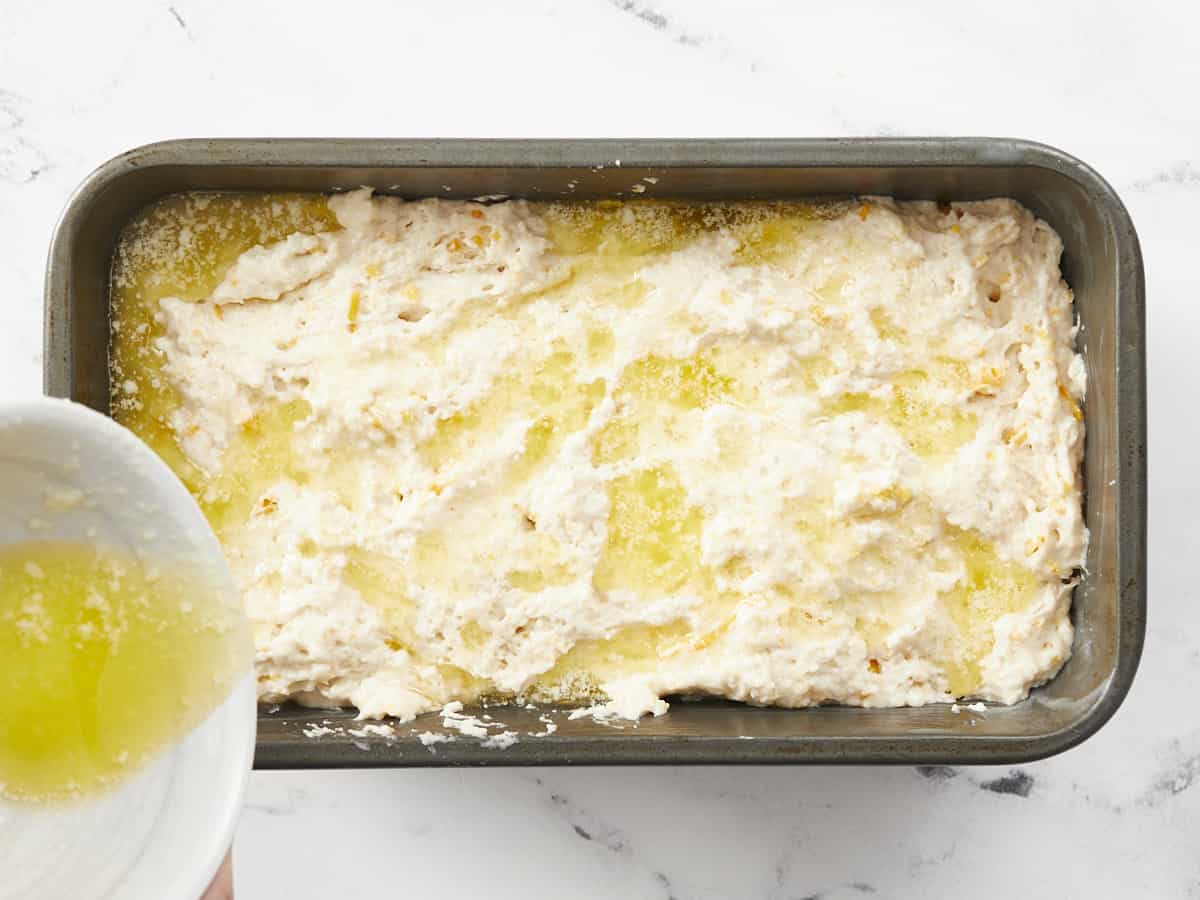
Pour the rest of the melted butter (about 3 1/2 tablespoons) on top of the bread dough.
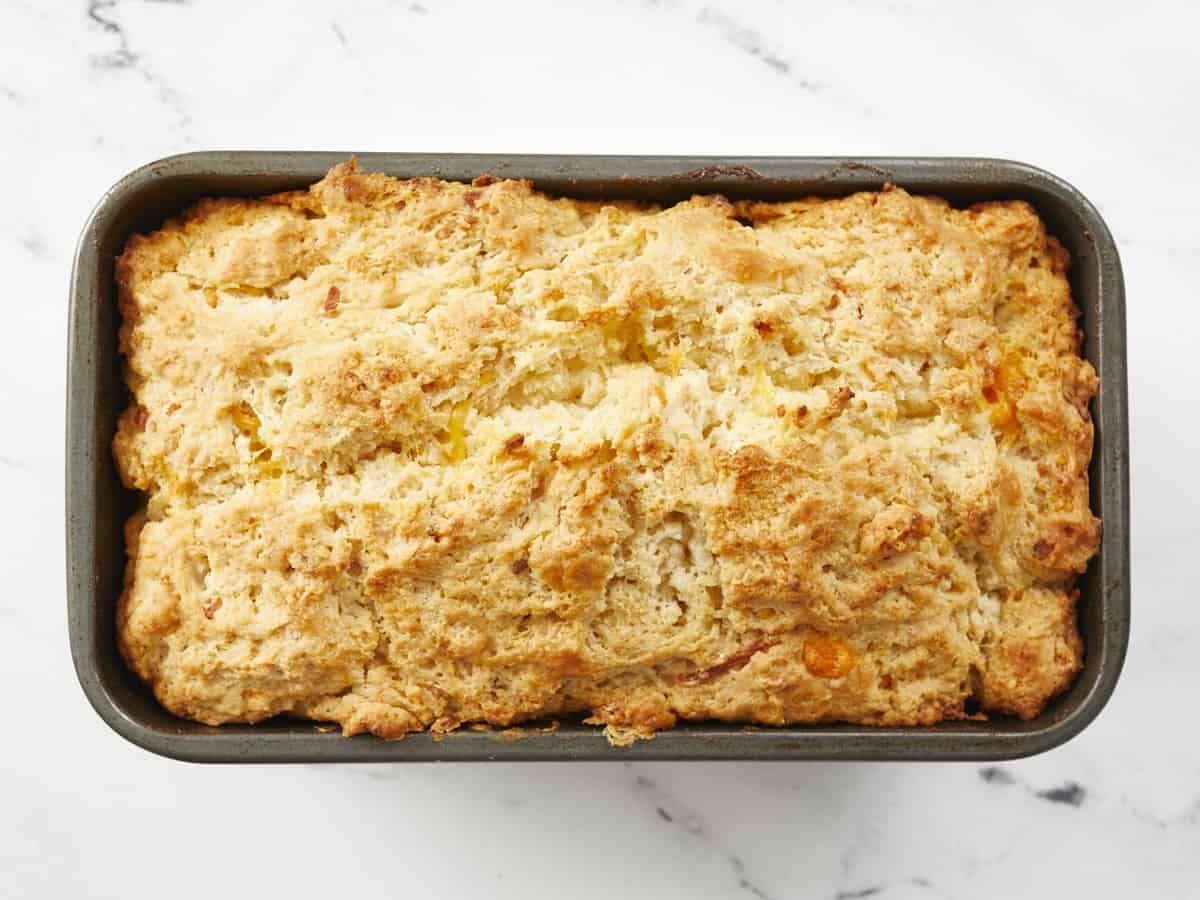
Bake the beer bread for 45-50 minutes, or until the top is evenly golden brown and crispy. Let the bread cool slightly (about 10 minutes) in the loaf pan. Run a butter knife around the inside edge of the pan to loosen the edges, then flip the bread out onto a cutting board to slice and serve.
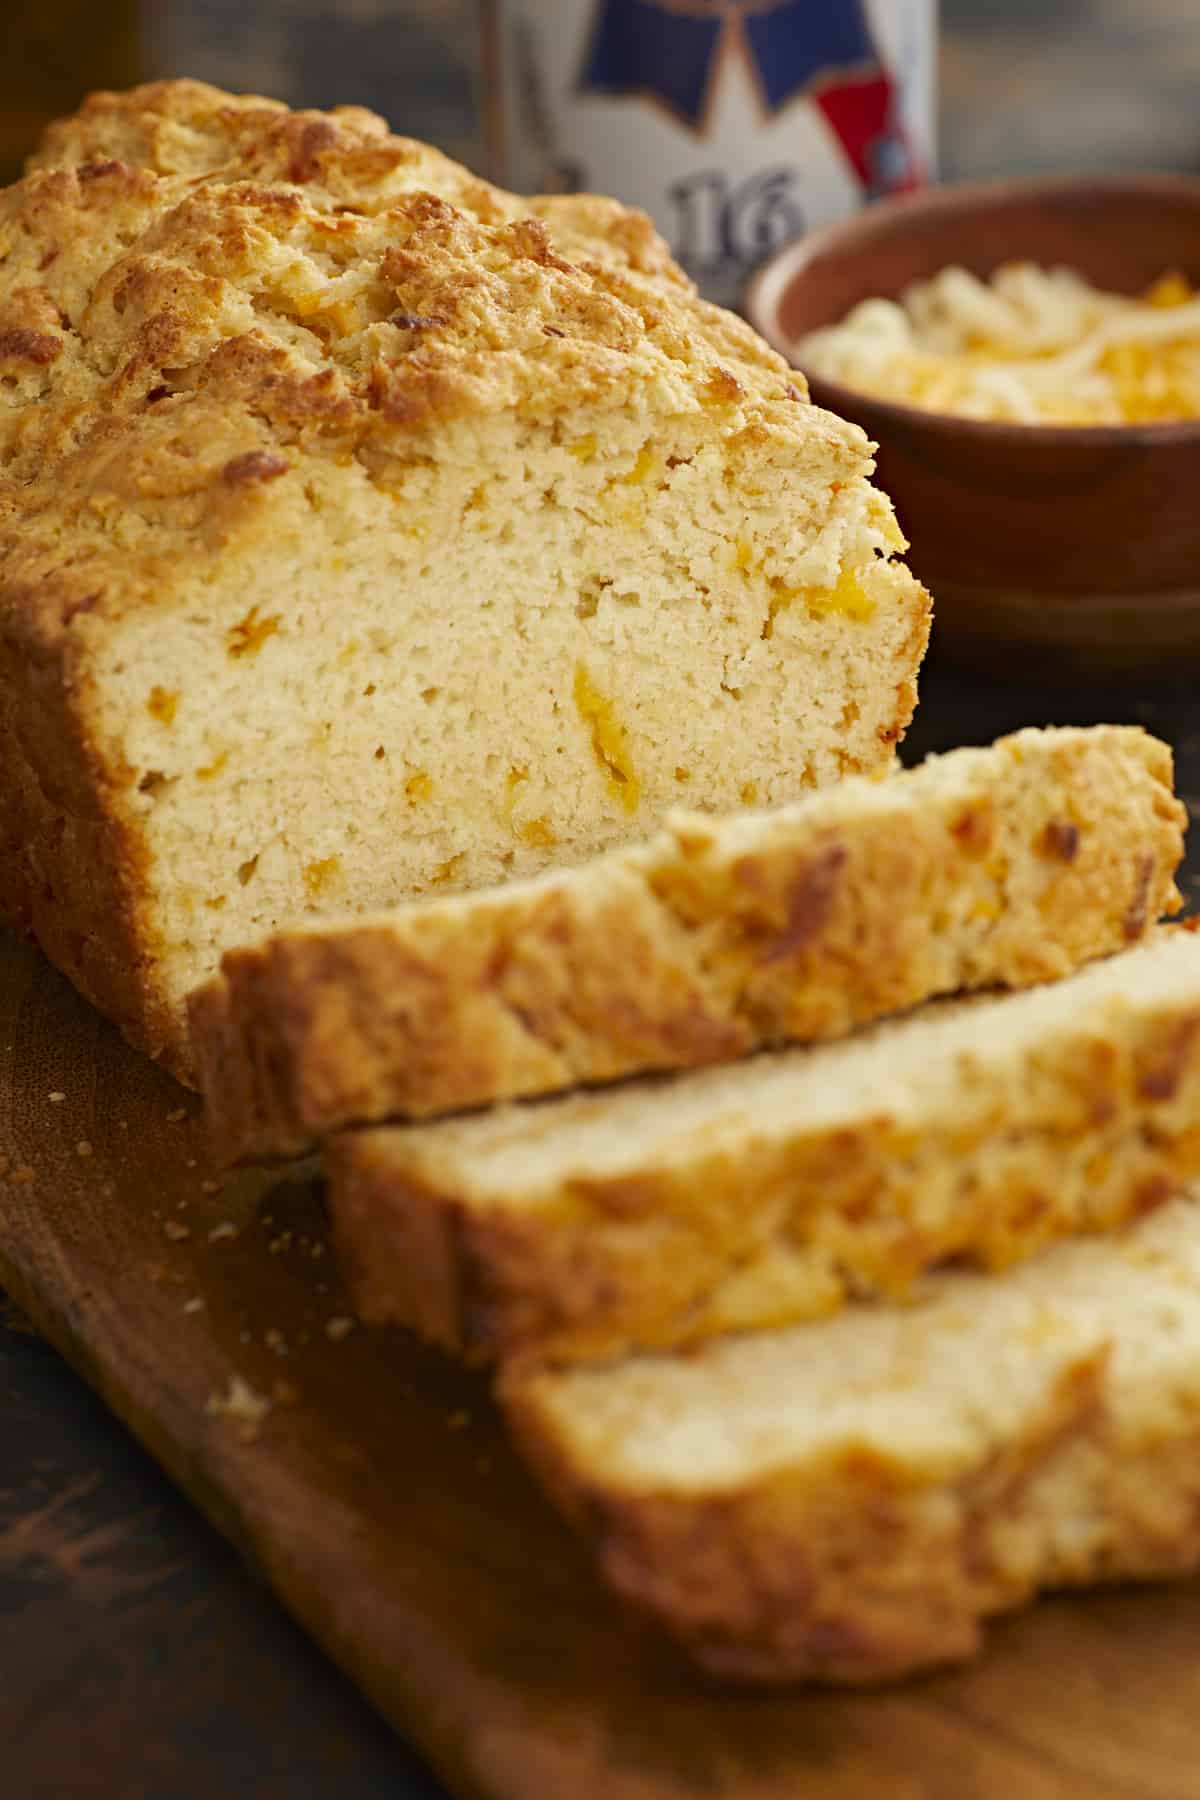
As one of my favorite TikTok creators (@tanaradoublechocolate) would say: “It ain’t gonna slide down easy if it ain’t cheesy!” Hope y’all love this Easy Beer Bread as much as we do! ~Marion :)
MORE NO-KNEAD BREAD RECIPES

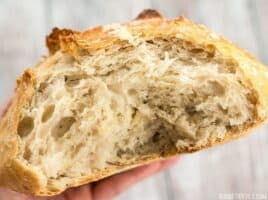
No-Knead Bread
$0.33 per loaf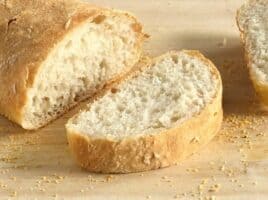
No-Knead Ciabatta
$0.42 recipe / $0.11 serving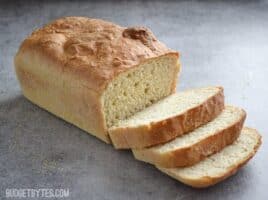
No Knead English Muffin Bread
$0.71 recipe / $0.06 per sliceThe post Beer Bread appeared first on Budget Bytes.
References:
By: Marion - Budget BytesTitle: Beer Bread
Sourced From: www.budgetbytes.com/beer-bread/
Published Date: Mon, 13 Mar 2023 16:15:46 +0000
Frequently Asked Questions
What are the 7 Indian spices that you can use?
Indian spices are a group of spices used in Indian food. These spices include cumin, cardamom and coriander as well as turmeric, fenugreek and ginger. The spices are used to enhance the flavour and aroma of foods by combining and complementing natural ingredients, such as meats or vegetables. Together, spices create unique flavour profiles that make Indian cooking so distinct.
Cardamom is sweet and pungent with hints ginger and citrus. It is used often to flavor curries and rice dishes such as biryani. Cumin has a strong, earthy aroma as well as a rich and nuanced flavor. It is commonly added to curries and meat dishes, as well as dals. Coriander is sweet and citrusy, adding a hint of nuttiness to dishes. It is commonly used to season vegetables, lentils, and other foods.
Turmeric's earthy flavour is enhanced by mustard, spices, pepper hints, and other spices. This spice is used in many dishes, including curries. It has a golden colour. Fenugreek's aroma is rich and has earthy tones. Fenugreek is used to season meat dishes such as kebabs or curries. Ginger is pungent and spicy with hints o citrus. It can be used to spice up soups, curries and chutneys. Asafoetida is a spice that has strong flavors and a pungent smell.
These spices produce unique flavors, which make Indian cooking distinctive.
What are the primary Flavours in Thai cooking?
Thai cuisine includes several distinct regional cuisines. These include Northern and Central Thai cuisines, as well as Southern, Eastern, Western, Eastern, Western, Northeastern Thai food. Each region has its own unique flavour profile.
The most common flavours in Thai food are sweet, salty, sour, spicy, bitter, pungent, and nutty.
Sweetness is essential for Thais because it makes the dishes palatable. Thai cuisine relies heavily on sweet ingredients, such as coconut milk (gula melaka), and palm sugar.
Thailand's most popular food is sourness. Hot dishes can often be paired with sour foods. This helps to balance the heat.
Thai food also includes spicy food. Thai dishes often use spices such as chili pepper, galangal or ginger root.
Almond Flour vs. Almond Meal: What's the Difference?
Almond meal can be substituted for almond flour and is versatile enough to be used in baking, cooking and even making nut-free meals.
Almond flour can also contain gluten which makes it more difficult to digest. Avoid gluten-free food if you have celiac disease, or any other digestive disorder.
Almond flour isn't considered "superfood", but it is high in healthy fats, fibres, protein, vitamin E, and sodium.
The almond meal provides nutritional benefits such as magnesium, iron, zinc and manganese. It also contains vitamin A, B1 (thiamin), C, and folate.
Almond flour is made of almonds. Almond oil is made from polyunsaturated, monounsaturated, fatty oils. Both can lower LDL cholesterol and increase HDL cholesterol.
Almond flour is also high in antioxidants, such as phenolics, flavonoids and proanthocyanidins. These compounds protect against oxidative damage caused by free radicals.
A study published by the Journal of Agricultural Food Chemistry revealed that almond flour had an antioxidant activity equal to that of blueberries.
Almond flour is usually sold alongside almond milk, fortified with additional nutrients.
What is the most well-known ingredient in Thai cuisine?
In Thailand, two main ingredients make up the heart of all dishes: rice and curry. These two essential elements come together to create an unforgettable flavor.
The combination is called "Khao Pad Krai" in Thailand. This means that when two simple foods are combined, they can become irresistible and delicious.
This is true for all aspects of life. It is possible to achieve great success by combining the two key ingredients of hard work, perseverance, and determination.
As Khao Pad Krai did, passion and purpose can be combined to make you successful. Combining them will produce something special.
Remember that Thai food doesn't just require rice and curry. Next time you feel the urge to eat Thai food, think about how much more it can be than just rice. Try experimenting with other ingredients and see how much fun it can be!
Statistics
- According to Healthline, pink Himalayan salt is estimated to contain up to 84 minerals and trace elements, which gives the salt its special pink color. (spicecravings.com)
- Their 14 to 20 percent essential oil content means that cloves have the highest concentration of aroma compounds of any spice. (masterclass.com)
- It has been estimated that around 1,000 tons of pepper and 1,000 tons of other common spices were imported into Western Europe each year during the Late Middle Ages. (en.wikipedia.org)
External Links
en.wikipedia.org
ncbi.nlm.nih.gov
- Development and Validation of Novel Dietary and Lifestyle Inflammation Scores - PMC
- Molecular mechanisms of curcumins suppressing effects on tumorigenesis, angiogenesis, and metastasis, focusing on NF-kB pathway - PubMed
pubmed.ncbi.nlm.nih.gov
healthline.com
- Is Pink Himalayan Salt Better Than Regular Salt?
- Turmeric and Curcumin have 10 proven health benefits
How To
How to store spices for cooking?
This article will show you how to store cooking spice for optimal performance. First, let's understand how foods are stored.
Because spices lose their flavour when exposed to the sun, they are best kept out of reach from light. This is because oxygen reacts with organic compounds like those in spices to cause oxidation.
To prevent oxidation of spices, keep them in dark cupboards. These conditions can cause spices to quickly lose their flavor.
The best way to preserve the flavour of spices is to keep them in airtight jars away from direct sunlight.
To make flavoured drinks, you can add herbs or spices to water. To make a cinnamon-flavored drink, combine two teaspoons of ground ginger with half a cup of warm water. Stir and mix well. Add a squeeze of lemon juice and serve immediately.
Add dried herbs and spices to soups. Sprinkle the spice mixture evenly on the dish, and let it sit for five to ten minutes before you serve.
If you have leftover cooked vegetables, fruit, meats, poultry, fish, shellfish, eggs, cheese, bread, crackers, cookies, cakes, pies, or puddings, they can be added to your favourite recipes as snacks.
For the best flavor of fresh herbs, you can chop them up or tear them apart and then add them to your favorite foods. Also, you can freeze herbs and spice by placing them into ice cube dishes or muffin cups. Transfer frozen items to zip-top or freezer bags.
.png)
